
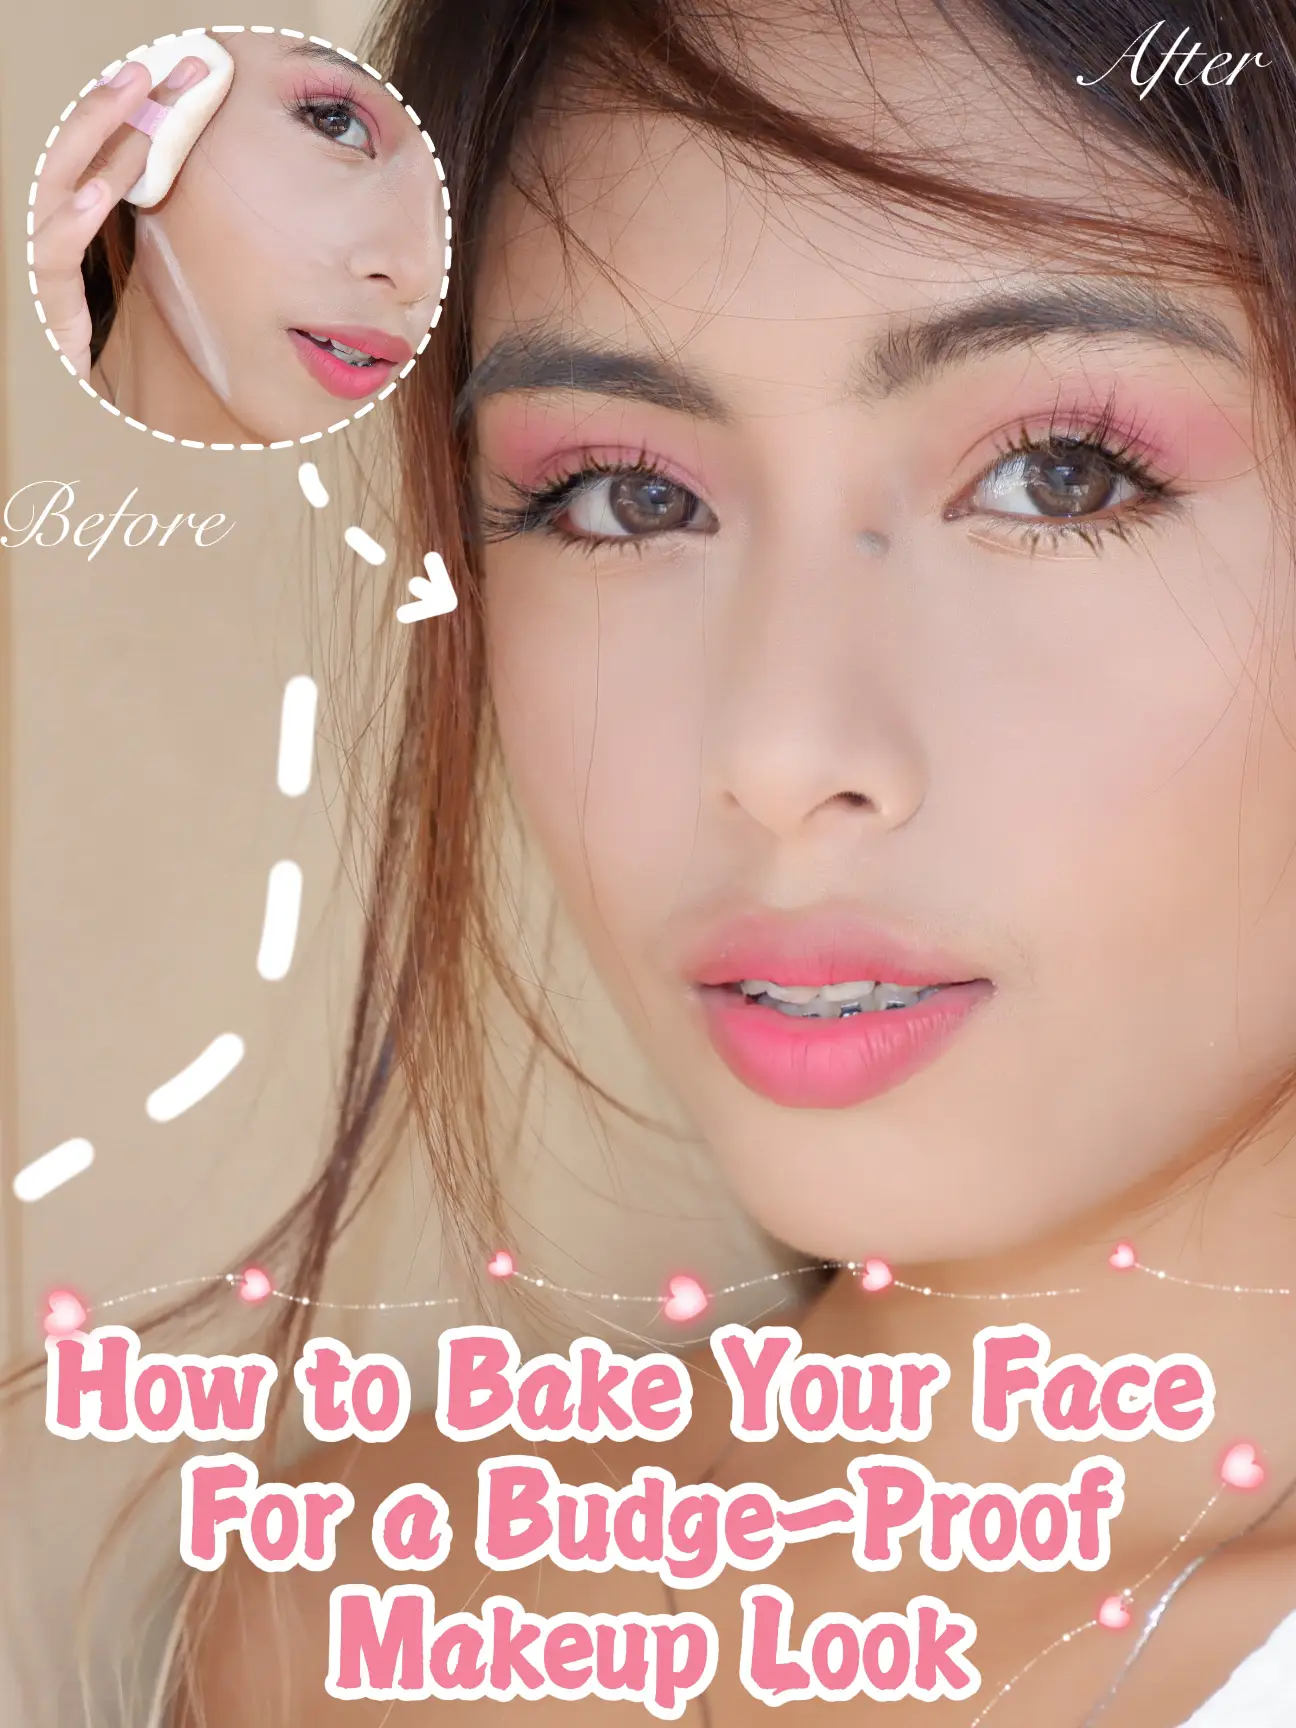
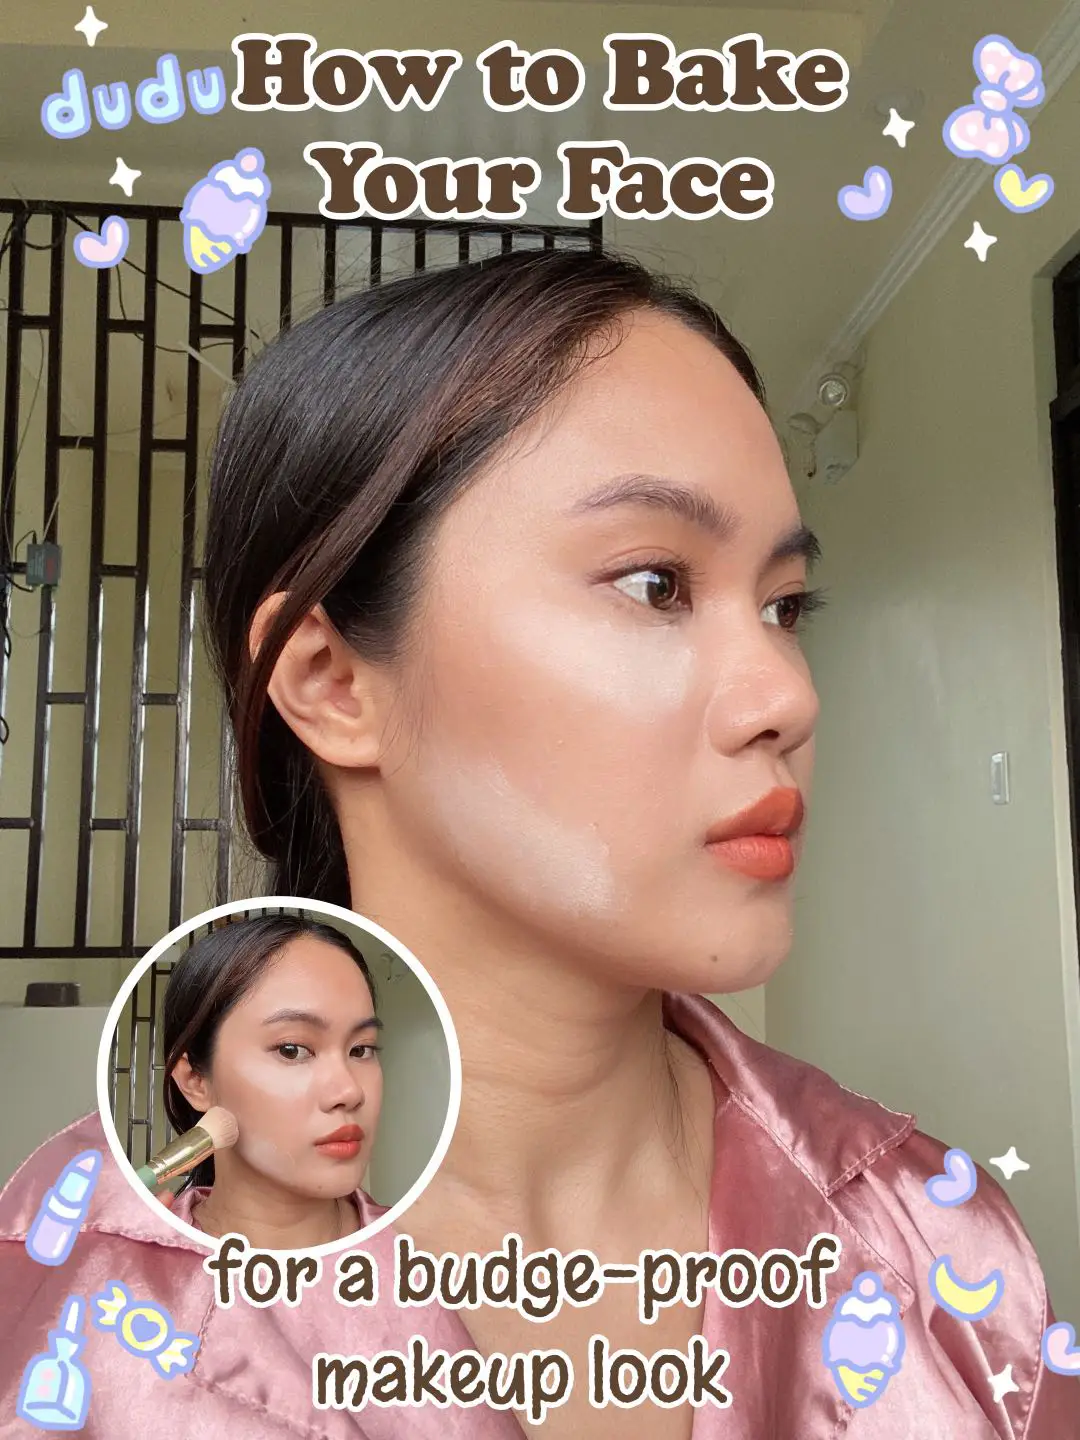
How to Bake Your Face: Ultimate Budge-Proof Makeup
To bake your face for a budge-proof makeup look, apply a thick layer of setting powder over your concealer, then let it sit for 5-10 minutes. This technique sets your makeup, providing long-lasting wear and a flawless finish.
Achieving a budge-proof makeup look is essential for long days and special events. Baking your face solidifies your base, ensuring that your makeup remains untouched by the daily elements. This method, originating from the drag community, has become a mainstream technique for its effectiveness in creating a smooth, matte look while preventing creasing and smudging.
Perfecting the baking process can take your makeup application to the next level, guaranteeing a polished outcome that lasts from morning coffee to evening cocktails. Embrace the secret weapon of professional makeup artists worldwide and master the art of face baking for an impeccable look that stands the test of time and activity.

Credit: www.cosmopolitan.com
The Art Of Baking Your Makeup
Discover baking, a makeup technique that promises to lock your look in place. Perfect for those aiming for an impeccable finish that stays put all day. Learn the steps and benefits, especially if you have oily or combination skin.
What Is ‘baking’ In Makeup?
Imagine your makeup looking fresh even after hours of wear. This magic is called baking. Baking refers to letting translucent powder sit on your face for several minutes. This allows the heat from your skin to set your foundation and concealer.
- Apply a thick layer of powder over concealer.
- Wait 5-10 minutes.
- Dust off the excess for a creaseless, flawless finish.
Benefits For Oily And Combination Skin
If you have oily or combination skin, baking might be your best friend. Here’s how it helps:
- Mattifies: Absorbs excess oil, reducing shine.
- Long-lasting: Helps makeup stay put, preventing smudging.
- Flawless appearance: Smooths out fine lines and imperfections.
Credit: www.lemon8-app.com
Prepping For Perfection
Welcome makeup enthusiasts! Baking is a game-changer for achieving long-lasting, budge-proof makeup. Before diving into this makeup artist secret, let’s focus on the essential first steps for flawless application: prepping for perfection.
Cleansing and Moisturizing Your BaseCleansing And Moisturizing Your Base
Start with a clean canvas. It’s vital for any standout makeup look.
- Cleanse your face to clear away dirt and oils.
- Exfoliate if needed, to remove dead skin cells.
- Choose a moisturizer suited to your skin type for hydration.
Allow your moisturizer to absorb before moving to the next step.
Choosing the Right PrimerChoosing The Right Primer
Primer is the anchor for your makeup. Pick the primer that pairs best with your skin.
| Skin Type | Primer Type | Benefit |
|---|---|---|
| Oily | Mattifying | Controls shine |
| Dry | Hydrating | Smooths skin |
| Combination | Balancing | Targets T-zone |
| Normal | Satin finish | Natural glow |
| Sensitive | Mineral-based | Reduces irritation |
Apply a thin, even layer of primer across your face. Allow it to set for a few minutes.
Foundation: Laying The Groundwork
Prepare your skin for a makeup masterpiece. The key is the foundation. Like a canvas, your skin needs the perfect base to ensure everything else falls perfectly into place. Your flawless makeup look starts here.
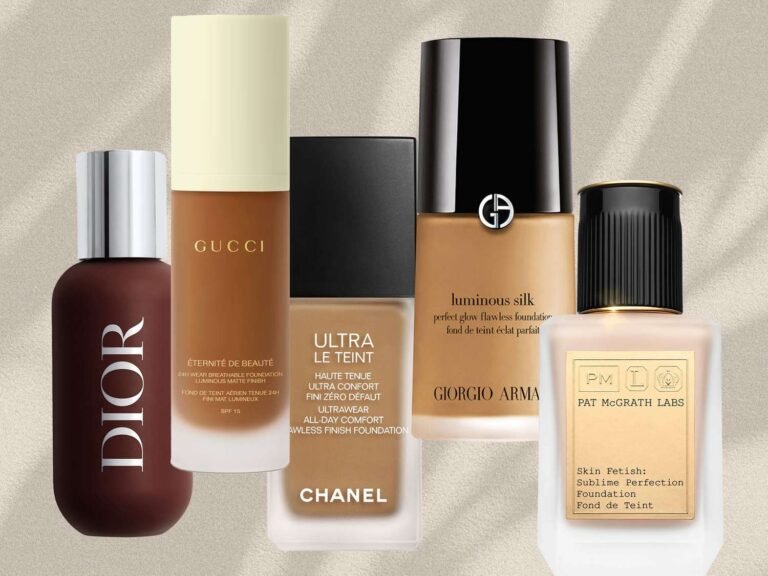
Selecting The Perfect Shade And Formula
Finding your true match in foundation shade is crucial. Here’s what to consider:
- Skin tone: The foundation should match your jawline’s color.
- Skin type: Oily, dry, or combination? Choose a formula that complements.
- Coverage needs: From sheer to full, pick what best suits your look.
| Skin Type | Recommended Formula |
|---|---|
| Oily | Matte, oil-free foundations |
| Dry | Hydrating, dewy foundations |
| Combination | A balance formula, possibly with a primer |
Application Techniques For A Smooth Canvas
For an even foundation layer, follow these steps:
- Start with a cleansed and moisturized face.
- Apply primer to create a smooth base.
- Use the right tool: Brush or sponge?
- Dab foundation on your face. Start from the center and blend outwards.
- Always blend into your neck for a seamless look.
Pro Tip: For best results, use a damp beauty sponge to press the foundation into the skin, creating an airbrushed effect. This technique also helps with longer-lasting wear and less product use.
Concealer: The Secret To Flawless Under Eyes
Bright, crease-free under eyes enhance any makeup look. Unlock this magic with concealer, the ally against dark circles and blemishes. For makeup that lasts from dawn to dusk, perfecting your concealer game is key. Ready for that smooth, photo-ready finish? Let’s dive into the techniques that will keep your concealer from budging.
Correcting Vs. Concealing
Start with a clean base for the under-eye area. Now, choose: are you correcting or concealing? Color correction neutralizes discolorations; concealing provides a bright, even canvas. Here’s a quick guide:
- Peach tones cancel out blue or purple shadows.
- Yellow tones brighten dark under-eye areas.
- Green tones counteract redness from blemishes.
Swipe the corrector under the eyes then layer with concealer. This one-two punch ensures imperfections won’t play peek-a-boo.
Blending For Budge-proof Coverage
Now, let’s blend. Use a damp beauty sponge to tap the concealer gently. This helps it fuse flawlessly with your skin. The golden rule: pat, don’t rub. Proper blending prevents creasing, locking in coverage for hours.
Ever heard of baking? It’s not just for the kitchen. Baking with loose powder sets the concealer, guaranteeing nothing moves. Dab translucent powder over the concealer, wait a few minutes, then dust it off. Witness your makeup defy time and stay fresh all day!
Setting The Stage: Locking In Foundation And Concealer
The key to flawless, long-lasting makeup begins with a perfect base. Applying foundation and concealer sets the stage for the baking process. Ensure the skin is clean, moisturized, and primed before smoothing on your foundation. Cover imperfections with concealer, and get ready to lock it all in. Let’s dive into how you can select the right setting powder and master the art of pressing it onto your skin for that budge-proof look.
Choosing the Right Setting PowderChoosing The Right Setting Powder
It’s essential to choose a setting powder that complements your skin type and tone. For oily skin, an oil-absorbing formula works best; whereas, dry skin calls for a hydrating variant. If you have combination skin, zone-specific application is key. Remember, the shade should match your skin tone or be translucent to avoid altering the color of your base makeup.
Techniques for Pressing Powder onto SkinTechniques For Pressing Powder Onto Skin
Pressing powder into your skin helps set your foundation and concealer flawlessly. Use a damp makeup sponge for best results. Start by pouring a generous amount of powder onto the lid, then dab your sponge in the powder. Gently press the powder into your skin, focusing on under-eye areas and any other spots you’ve concealed. Wait for about 5 minutes to let the powder bake, then dust away the excess with a fluffy brush for a seamless finish.
The Main Event: Baking Your Makeup
Imagine your makeup looking flawless all day. Baking is the key to locking in a perfect, creaseless finish. It’s a technique loved by beauty aficionados. Transform your makeup routine with this power-packed method to achieve a picture-perfect look!
Application Strategy For Baking
Start with a smooth canvas. Ensure your skin is moisturized and primed. Apply your foundation and concealer as you normally would. Now, get ready for the game changer.
- Dampen a beauty sponge. Use lukewarm water and squeeze out excess.
- Dip the sponge into translucent powder. Aim for a generous amount.
- Press the powder onto your skin. Focus on areas under the eyes and the T-zone. These are places make-up usually creases.
- Pat gently, don’t rub. This ensures the powder sets your makeup without moving it. Picture a smooth surface that deflects the day’s challenges.
How Long To Leave The Setting Powder
Patience is vital. The powder should sit on your skin for about 5 to 10 minutes. Use this time to work on your eye makeup or sip your favorite drink!
- Wait it out. Let the powder meld with your skin’s warmth.
- Blend away. Use a fluffy brush to dust off the excess powder with light, sweeping motions.
The result? A crease-free, velvety finish that lasts. Say goodbye to smudges and hello to a makeup look that stands the test of time!
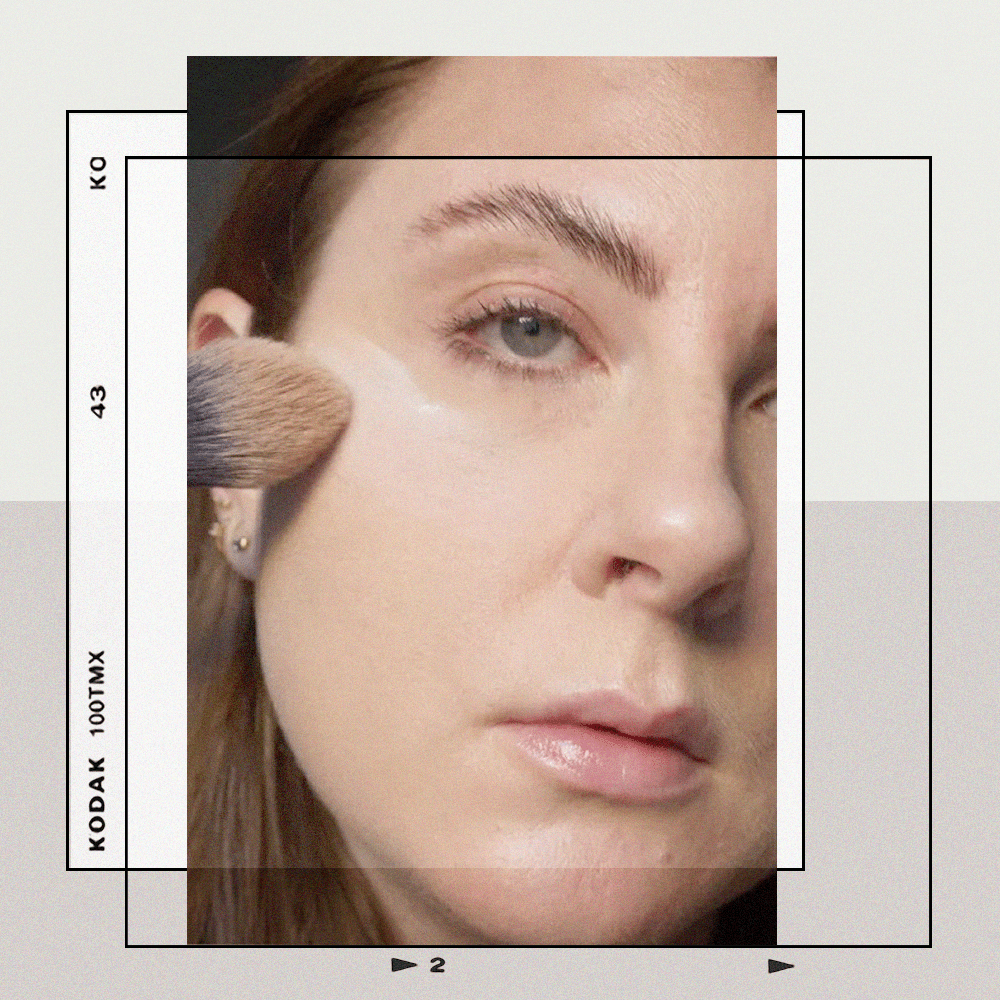
Removing The Excess: The Final Dust Off
Once baking your face, the key to a flawless finish is removing excess powder. This step ensures makeup looks natural, not cakey. Master the final dust off and unveil smooth, set makeup ready to face the day.
Tools For Dusting Away Excess Powder
Choosing the right tool is crucial for the perfect dust off. Use a fluffy powder brush for a gentle sweep or a fan brush for light precision. A kabuki brush works too, for those preferring a fuller brush.
- Fluffy powder brush – Ideal for a soft sweep over large areas.
- Fan brush – Perfect for removing powder without disturbing makeup underneath.
- Kabuki brush – Offers more control and is great for a thorough clean.
Maintaining Coverage While Dusting
To maintain coverage, use a light hand. Swirl the brush in powder then tap to remove the excess. Gently glide over the area where you applied your baking powder. This ensures complete coverage without smudging your base.
- Use a light touch.
- Swirl the brush to pick up the powder.
- Glide over the face with minimal pressure.
Finishing Touches: Completing The Look
Baked to perfection, your makeup is almost complete. The final steps are crucial for a look that lasts. Now, we add the color and glow with blush and highlighter. After perfecting your base, these finishing touches bring life to your face and seal the deal for an all-day fabulous look.
Applying Blush And Highlighter
Add a pop of color to your cheeks with blush. Use a fluffy brush, smile, and apply to the apples of your cheeks. Blend gently towards the temples. This technique lifts your face and gives it a healthy glow.
Next, let’s highlight. With a smaller brush, glide highlighter over the tops of your cheekbones, the bridge of your nose, and your cupid’s bow. Subtle shimmer catches light and showcases your features.
- Select a blush that complements your skin tone
- Apply highlighter to areas you want to emphasize
- Blend smoothly for a natural look
Setting Spray For Extra Hold
Finally, lock in your makeup with a setting spray. Hold it away from your face and mist evenly. This step ensures extra hold, merges the powders, and keeps your makeup fresh all day.
| Step | Action | Tip |
|---|---|---|
| 1 | Shake the setting spray well | Prevents splatters and ensures fine mist |
| 2 | Mist in an ‘X’ and ‘T’ formation | Covers face evenly without soaking any area |
| 3 | Let it dry naturally | Do not touch your face to maintain the set |
Baking Myths And Misconceptions
The term ‘baking’ in makeup has been stirring the beauty community, but it’s clouded with myths and misconceptions. Let’s sift through the facts and debunk the myths together. Understand the right techniques and the common mix-ups to master a budge-proof makeup look.
Can Baking Powder Be Used For Baking In Makeup?
Baking powder for cooking? It’s a yes. For makeup? Definitely not. Using culinary baking powder on your skin can irritate and cause damage.
Makeup ‘baking’ strictly uses translucent setting powder. This special powder helps makeup last longer without creasing.
Differences Between Baking And Regular Setting
- Baking involves applying a heavy amount of setting powder over your concealer and letting it sit, or ‘baking’.
- Regular Setting is a light dusting of powder to keep the base in place.
In baking, the heat from your face helps makeup to set and absorb oil. It creates a flawless finish. Regular setting is quicker, suitable for daily wear.
Pro Tips And Tricks
Let’s dive into the transformational world of makeup baking. This technique sets your makeup for hours. With these pro tips and tricks, anyone can achieve a flawless, long-lasting look.
Alternate Methods For Different Skin Types
Understanding your skin type is key to baking success. Trust me, your skin will thank you for choosing the right method!
| Skin Type | Baking Method |
|---|---|
| Dry Skin | Use hydrating sprays before and after baking to keep skin moisturized. |
| Oily Skin | Rely on extra matte powders and press firmly to absorb oil. |
| Combination Skin | Target baking zones to balance both dry and oily areas. |
| Sensitive Skin | Opt for hypoallergenic setting powders to avoid irritation. |
Longevity Tactics For Special Occasions
For those events where you need to look stunning hours on end, we’ve got the tactics:
- Temperature matters: Cool, dry places help makeup set and last longer.
- Layering technique: Layer thin amounts of powder and use setting spray between each.
- Time it: Allow each layer to ‘cook’ for at least five to ten minutes.
- Final touch: After baking, use a long-lasting setting spray to lock it all in.
Faqs: Your Baking Questions Answered
Discover the secrets to a flawless, long-lasting makeup look with our ‘FAQs: Your Baking Questions Answered’ segment. Baking isn’t just for the kitchen anymore. It’s the makeup technique that’s taking beauty routines by storm. Let’s dive into the best practices and fix common blunders with expert advice!
Best Practices For Everyday Baking
- Start with a hydrated base: Moisturize your skin to avoid patchy application.
- Choose the right powder: Go for a fine, translucent setting powder.
- Apply generously: Use a damp sponge to pack powder over concealer.
- Wait it out: Let the powder sit for 5-10 minutes to set makeup.
- Gentle dust-off: Use a fluffy brush to remove excess powder with care.
Following these steps ensures makeup stays fresh from day to night.
Solutions For Common Baking Mistakes
| Mistake | Solution |
|---|---|
| Cakey appearance | Lightly spray with a setting mist to add moisture. |
| Makeup turning ashy | Select a powder that matches your skin undertone. |
| Powder not setting | Use less product and extend baking time slightly. |
| Excess oiliness | Touch-up with a blotting paper before baking. |
These quick fixes will help perfect the baking process for a stunning look.
Credit: www.lemon8-app.com
Baking In Action: Step-by-step Tutorial
Welcome beauty enthusiasts to the flawless world of baked makeup! Perfecting the baking technique ensures your makeup stays in place, giving you that immaculate look for hours. This guide will walk you through each step, so grab your powder and brushes, and let’s get baking!
- Start with a clean, moisturized face to ensure makeup blends smoothly.
- Apply primer to create a smooth base for your foundation.
- Choose the right foundation and apply it evenly over your skin.
- Concealer is next. Apply under the eyes and on any blemishes.
- Now, the baking begins! Use a damp makeup sponge to press a generous amount of translucent powder under the eyes and on any areas you want to set.
- Wait for about 5-10 minutes. This lets the powder absorb oil and set the makeup.
- Gently brush off the excess powder with a fluffy brush, revealing a smooth, matte finish.
- Complete your look with blush, bronzer, and setting spray.
- Too Cakey? Use less powder or a finer-milled variety.
- Creasing? Blend concealer thoroughly before setting.
- Dry Skin? Try hydrating spray before you start to bake.
- Uneven Finish? Check your sponge. It should be damp, not wet.
Frequently Asked Questions
How To Properly Bake Your Face?
Start by applying a thick layer of translucent powder over your concealer. Let it sit for 5-10 minutes to “bake. ” Gently dust away the excess powder for a creaseless, flawless finish.
How To Bake Makeup Without Looking Cakey?
Start with hydrated, well-primed skin. Apply foundation and concealer as usual. Press a generous amount of translucent powder on desired areas. Let the powder sit for 5 to 10 minutes. Gently brush off excess powder with a fluffy brush.
Does Baking Makeup Really Work?
Yes, baking makeup sets concealer and foundation, reducing the appearance of fine lines and pores for a smooth, matte finish.
Can You Use Baking Powder To Bake Your Makeup?
No, you cannot use baking powder to bake your makeup; you should use a translucent setting powder.
Conclusion
Mastering the art of baking your makeup is a game-changer for long-lasting, flawless looks. This technique sets your foundation and concealer, ensuring they stay put all day. Just remember, the key to perfect baking lies in patience and the right tools—fine, loose setting powder and a good makeup sponge make all the difference.
Happy baking, and get ready to enjoy a complexion that looks freshly applied from dawn to dusk. Perfect your bake and say goodbye to midday makeup meltdowns!